
I try to explain it, but I don't think I ever make that much sense and so I have scraped together a very basic visual guide to how it's done. There are so many different ways to approach this though, this way is just the way I feel most comfortable.

Step 1: I start my placing my sketch in Adobe illustrator.
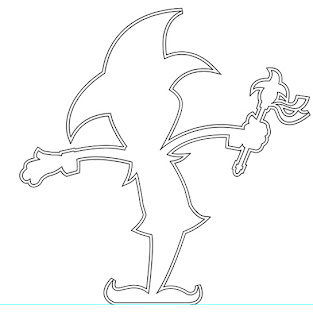
Step 2: I then create the outline to the character and then duplicate it, offsetting this by about 2mm to give me a nice thick edge.
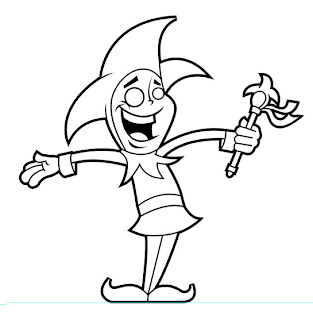
Step 3: After we have our edge, I go about drawing in the main detail of the character.
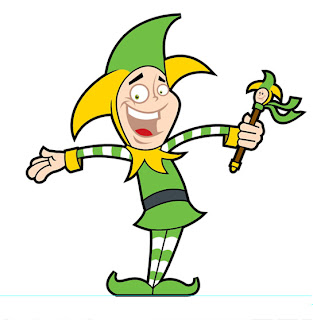
Step 4: Once I am happy with my lines, I then dissect the image and add the colour.

Step 5: The final stage is to add a few shadows and highlights. I try not to go overkill on this, but like to add a little here and there to give it some depth.

Ta da... We are finished.
©Dan Bailey 2010. All designs and concepts are strictly copyright of Dan Bailey Ltd. Do not attempt to use anything on this site without the authors permission first.
No comments:
Post a Comment